

The tech junkies and game lovers rejoiced when they first saw Razer keyboards. Razer is a popular name today due to its extraordinary design and speed in keyboards. People all over the world who liked playing games on their PC and wanted something that looked cool too got their hands on Razer keyboards or keypads. The LED lights in the keyboard is the USP of the most loved Razer keyboard. However, like all other appliances, it is vital to clean the keyboard to get rid of any gunk, lint or dust.
If you have been searching for a blog to help you clean your not-so-clean keyboard, then you are at the right place, my friend. I will describe the procedure for cleaning it along with some tips and tricks. Get your cleaning cape ready and start!
Collect all the materials required for this process
- Cotton swabs
- Isopropyl alcohol (70%)
- Cotton balls
- A plastic bowl
Razer Keyboard Cleaning Tips
Prep the Keyboard
- The models, such as BlackWidow of Razer keyboards, have some amazing and colorful lighting. To prevent any damage to it, unplug the keyboard from the PC. Shut off all settings of LED and then proceed with the cleaning procedure.
- Now click a picture of your keyboard for your reference so that you can arrange the keycaps back in the proper order after cleaning it.
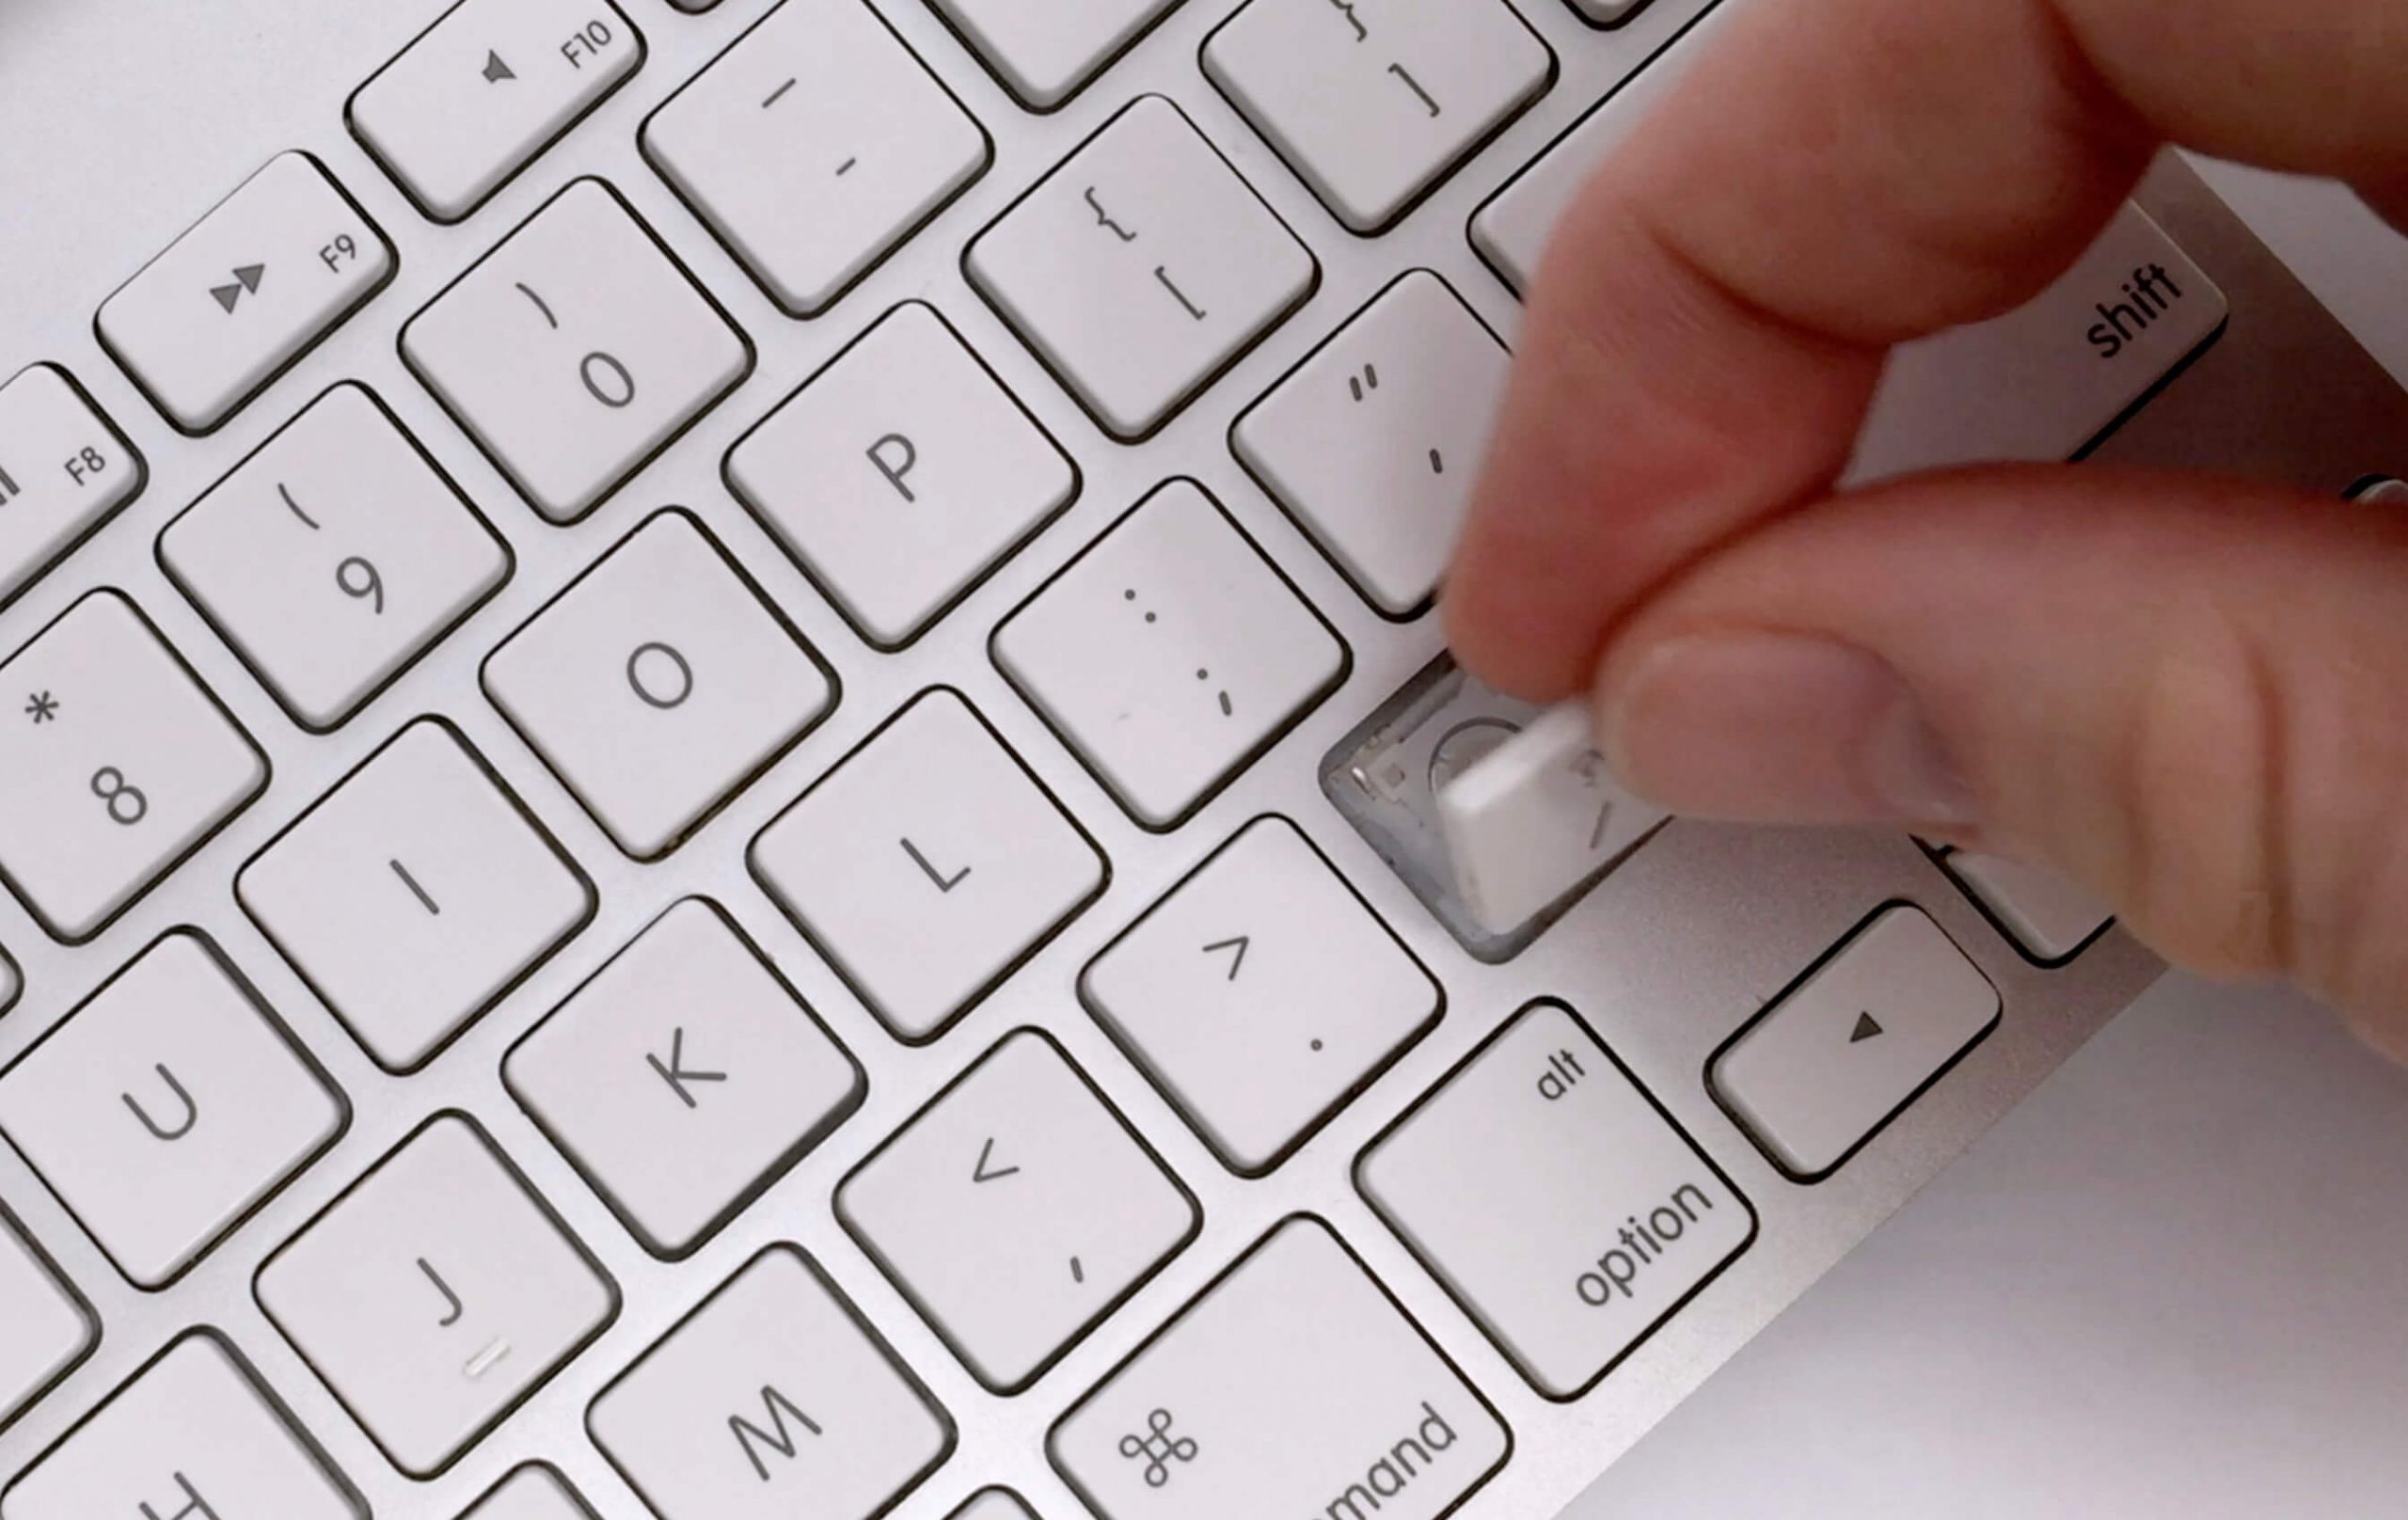
- Start removing the keycaps by applying a little force. It generally comes off in a go, the force applied should be in the upward direction to lift the keys.
- Large keys such as space bar, enter key, shift key are hinged on the keyboard. Carefully remove the keycaps by lifting the clips. Hinged keys have white clips underneath that needs to be lifted to remove it. You can easily identify these keys by looking at the white clips under a key.
Quick tip for Razer Chroma keyboards: The keycaps are generally a little difficult to remove for this model and hence you can use a keycap puller to remove the keycaps.
Clean the Keycaps
Once all the keycaps are removed, collect them in a plastic bowl or container. Now you can follow one of these following methods:
- Wipe all the keycaps one by one using isopropyl alcohol and lint-free cloth. Make sure that you clean the gunk properly and also check for stains.
- You can also use a cotton ball or cotton swab dipped in alcohol to clean the keycaps individually.
- Many people keep the keycaps in a plastic bowl filled with warm water to loosen the dirt and gunk on the keycaps. It is generally suggested to keep the keys for good thirty minutes to make them free of lint and dust completely.
Clean the Keyboard
Meanwhile, clean the keyboard so that you can place back all the keycaps.
To clean the keyboard, you can follow one or all of the given procedures below:
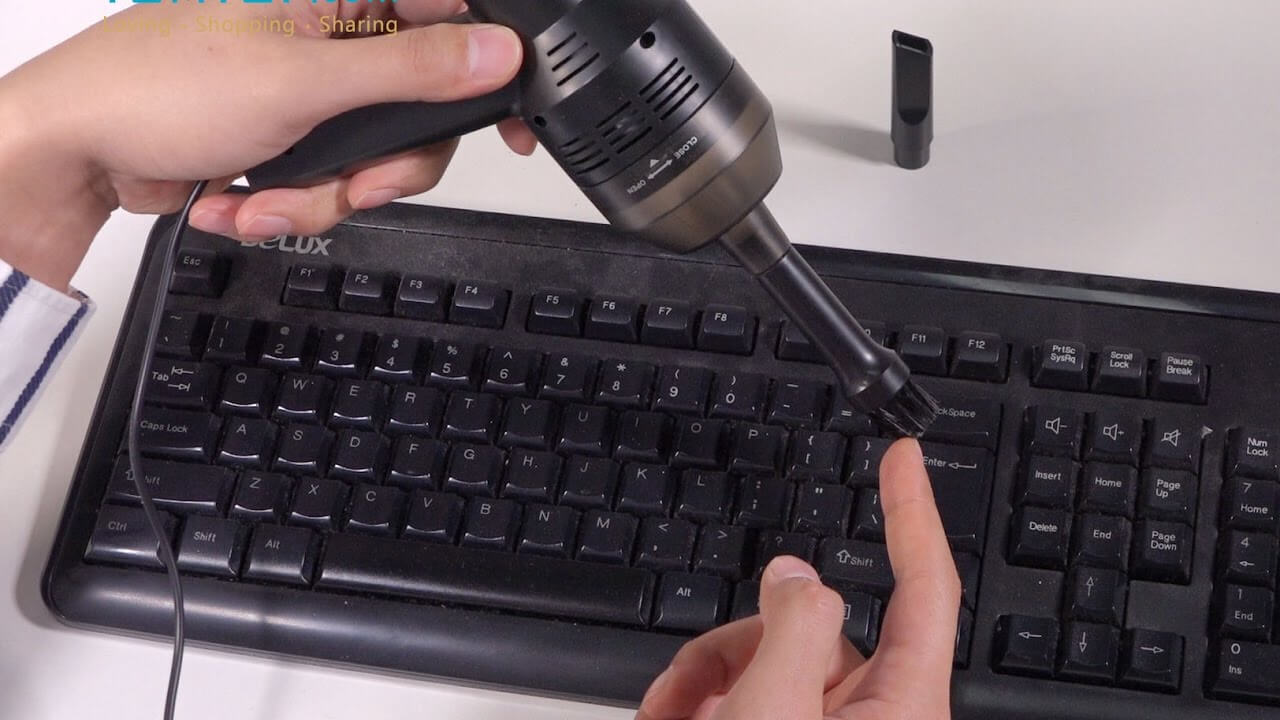
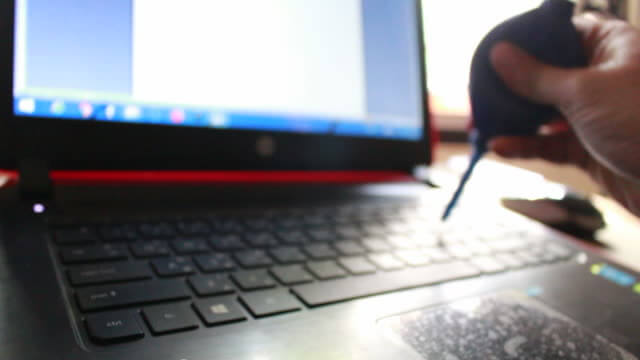
- Use a can of compressed air or laptop sprayer to remove all the dust and gunk. Give short bursts of air along each row of the keyboard. If some stains are not coming out, don’t worry as the alcohol can remove it.
- You can also wipe the keyboard by using a cotton swab dipped in isopropyl alcohol. Make sure to clean the grooves with care without damaging the LED light. Remove all the gunk stains and other dirt that is commonly found near the grooves of each key.
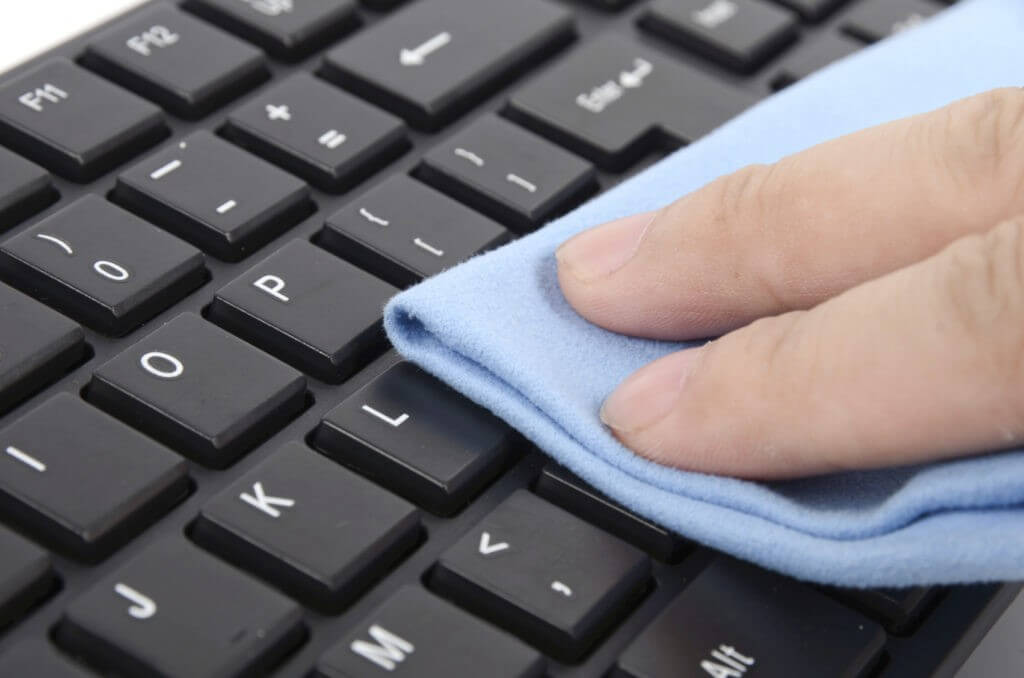
- Wipe the outer part of the keyboard using an alcohol-infused wipe or with a cotton ball dipped in the alcohol.
Quick tip for BlackWidow Razer Keyboard: Do not use water near the keyboard as it can enter it and damage the lightings. Always use a damp swab or cotton ball do not use wet or dripping swabs.
Let the keyboard dry properly before fixing all the keycaps back in the place.
Reattach the Keycaps Back
- Allow the keycaps and the keyboard to dry completely to avoid any issues.
With the help of the picture taken previously for the reference or a user manual, start fixing all the keycaps into their original position. - If you come across little stain of gunk or stain while fixing the keycaps, take the damp swab and clean it before attaching the keycap.
- In Black Widow Razer keyboards, the keycap fixes behind the LED light and you will hear a little click noise once the keycap is fixed.
- After all the keycaps are fixed, check for any missing places on the keyboard.
- Verify the position of the keys and plug in the keyboard. Turn on the LED lighting in the keyboard. This light will let you know of any places that you have missed while fixing the keys back in the place.
People also ask
Let’s take a look at some of the most frequently asked questions about Razer keyboards.
1) Is Razer keyboard good?
Yes, it is considered very good, especially for gaming.
2) Can you remove Razer keys?
Yes, you can. You might need a flathead screwdriver to do so.
3) Why are Razer keyboards bad?
They are not bad, really. A few users have complained about key chatter and failing switches, which is why they get a bad name.
4) Can you replace keycaps on a Razer keyboard?
Yes, you can. Razer also sells replacement keycaps that you can buy.
5) Are Razer products overpriced?
Yes, they seem to be overpriced because it comes under the premium luxury category.
6) Does Razer use ABS keycaps?
Yes, they do.
Concluding Remarks
The above-stated procedure is for the messy keyboards with a lot of gunk, lint or dust. For regular cleaning of the keyboard you can just wipe the keys with cotton swabs dipped in isopropyl alcohol. Make sure that you do not end up attaching the keycaps in the wrong place.