
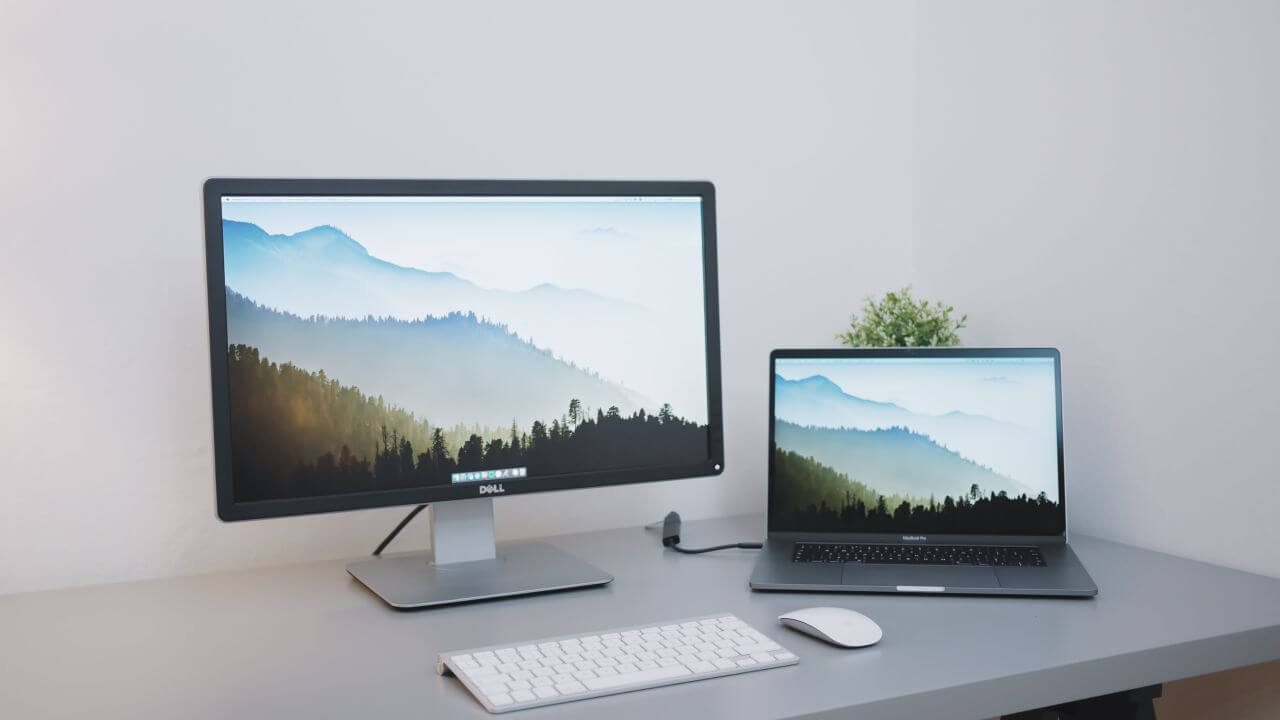
Ok, you got the second monitor for increasing your productivity or having a better environment for working at home or office. And if I am right, your external display is a USB powered monitor which uses only a single cable for power and input both.
What are the primary monitor and secondary monitor?
When you work with a single display, then there is nothing like a primary monitor and secondary monitor. But, when you connect a USB powered monitor/external display with your current PC, then the terms primary monitor and secondary monitor come in the picture.
The primary monitor or display is the screen on which the Operating System is installed and the ‘Start Menu’ is showing. The other display connected to a USB cable or port is called a secondary monitor. You can extend, duplicate or can use as a ‘stand-alone’ monitor any of them both.
You can control both the displays from the central control screen which is known as the primary monitor. You can mirror the screen of the primary/secondary monitor to the other and can use them both separately. For example, you can watch a how-to video from YouTube on one screen and at the same time can apply the tricks on the second screen.
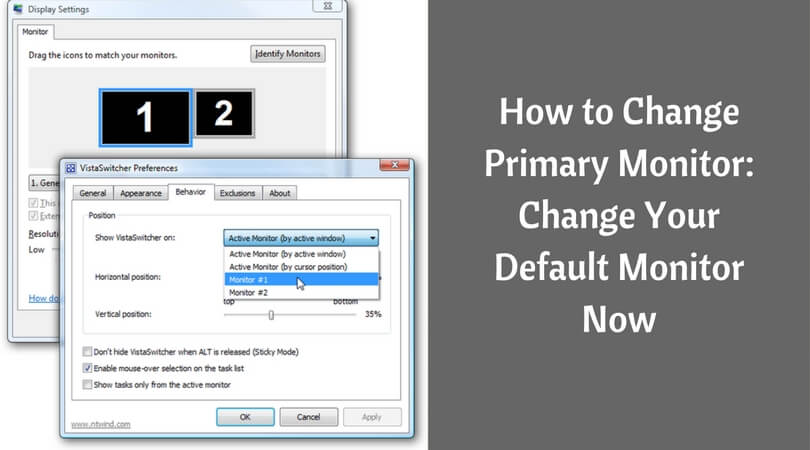
Make Primary Monitor to Secondary
When we attach an external device to a current screen, it works as a secondary monitor. Sometimes, we just for a change or for better viewing want to switch primary monitor to the secondary monitor and vice versa. The question is that how will you do that? Well, today in this article, I will explain how to change primary monitor to secondary monitor and how you can make primary monitor of your external display.
Let’s go the method for alternating your displays below:
How to Change Primary Monitor?
We will see the top process to switch primary display to secondary screen here. All the steps are comfortable and beginner friendly.
Step-1: Attach the second monitor to your PC.
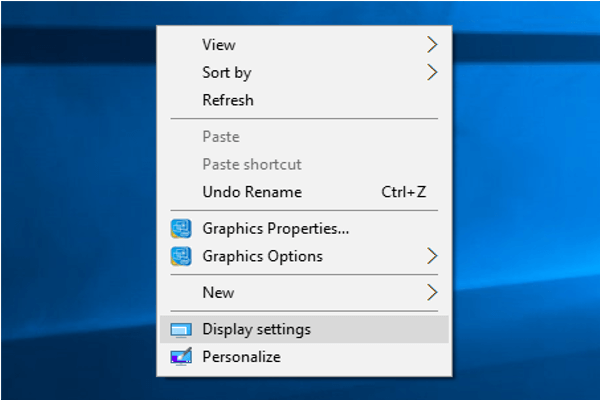
Step-2: On the desktop of your primary display, right click and choose ‘Display Settings.’
Step-3: Under the ‘Display’ menu, you will see a section of ‘Multiple Displays.’ Click on the ‘Detect’ button if your external monitor is not detected automatically.
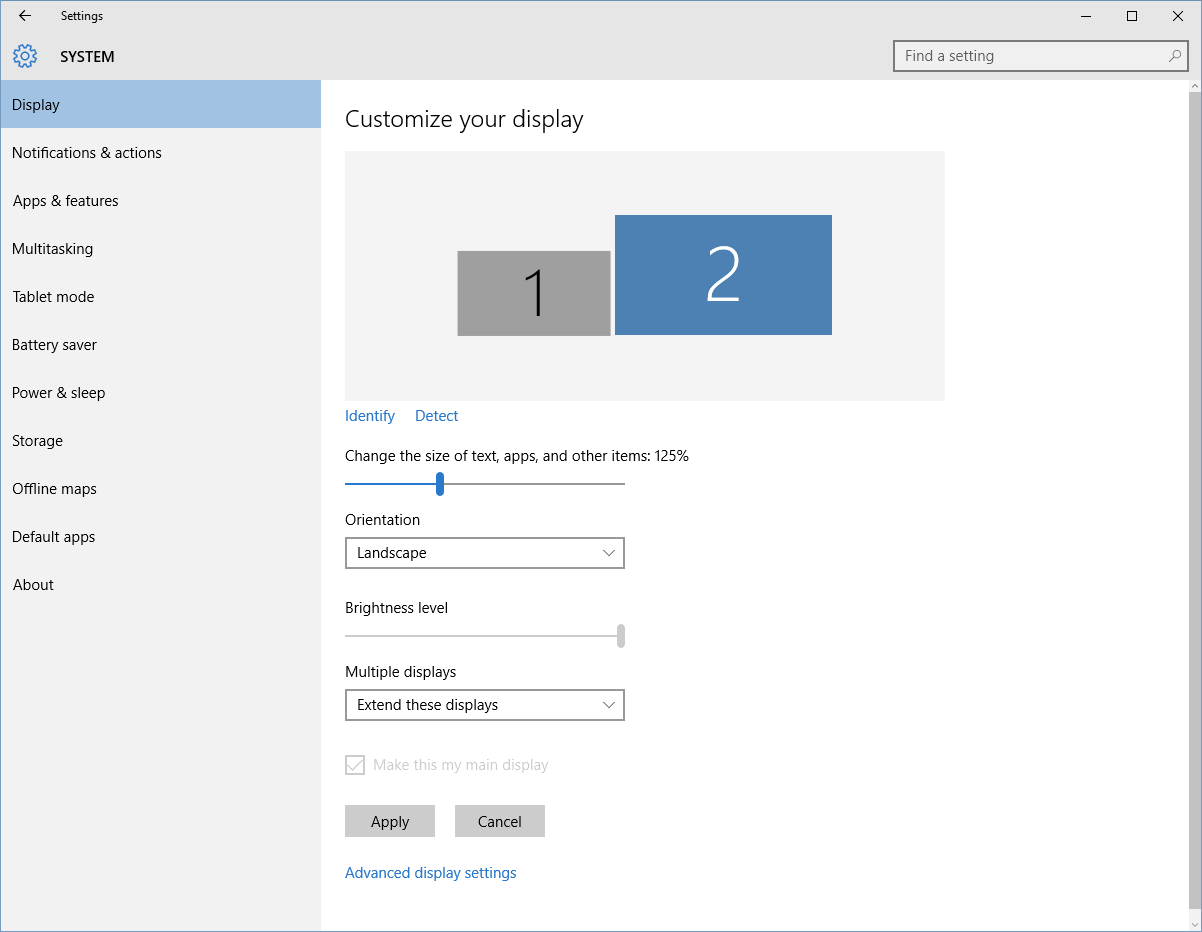
Step-4: Now, you will see virtual workspace at the top for the ‘Select and rearrange displays’ and two screens with numbers 1 and 2 in that.
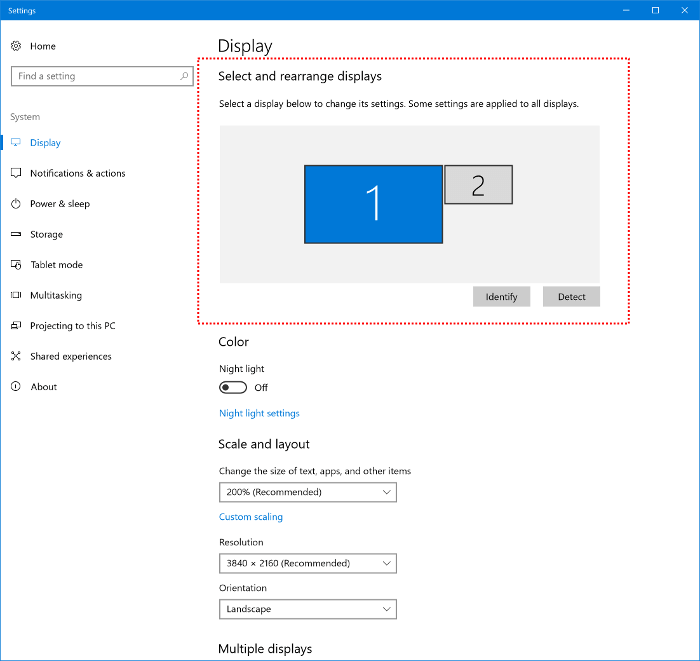
Step-5: Click on the number 2 in the virtual workspace which is your external USB powered monitor.
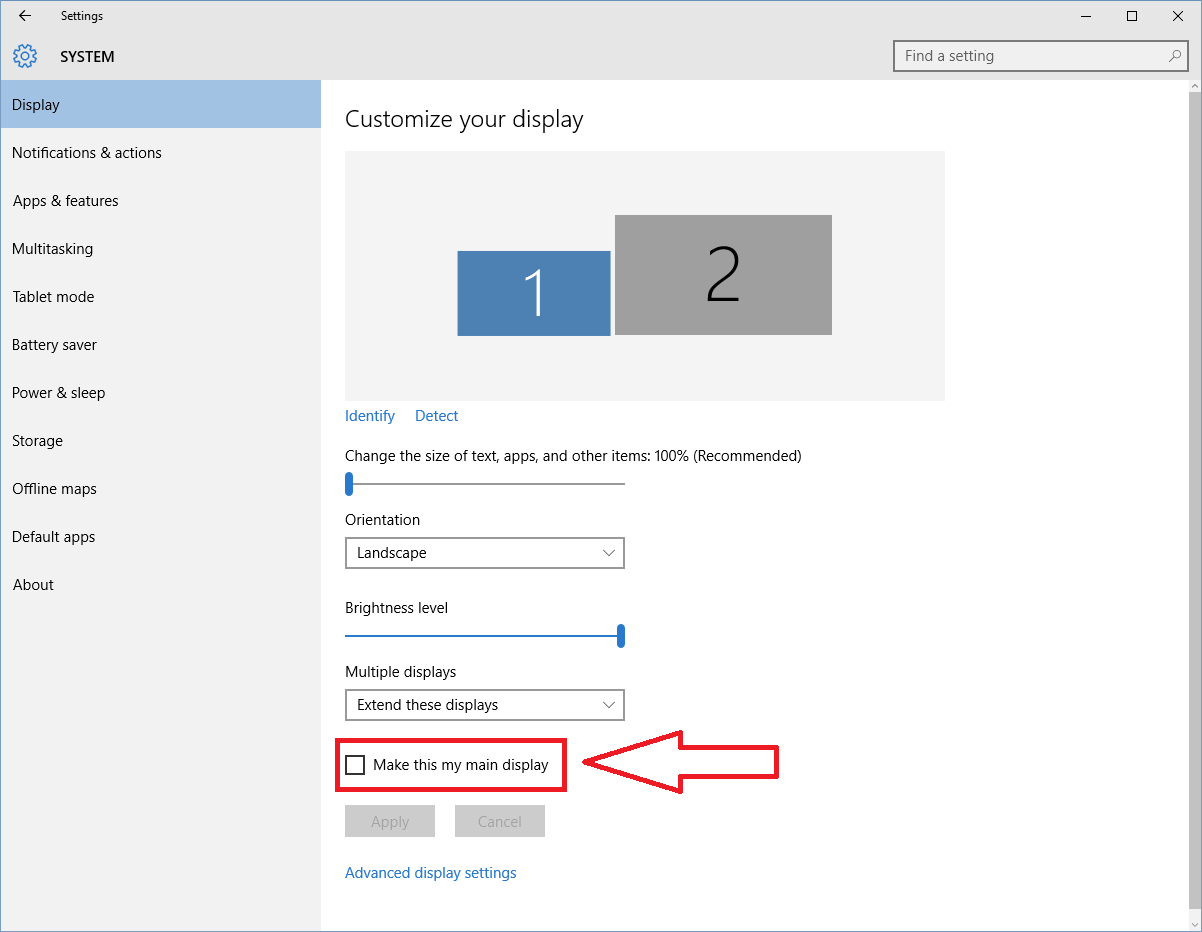
Step-6: Scroll down and look for ‘Make this My Main Display’ with a box ahead. Mark that box and you will make primary monitor changed with your external display.
Step-7: Repeat the process to switch back from secondary monitor and make primary monitor as before.
Keep in Mind
When you duplicate the displays which in result, make all the screens showing the same content, make sure to keep the aspect ratio same on all of them. If the aspect ratios are different on the screens, then there are chances of stretched images or black borders at any side of the monitor.
When you disconnect the external monitor, everything you opened on both the screens will come on the primary monitor itself and adjusts as per your display properties. So, don’t worry when you have any problem in the second screen after making the dual monitor setup. Sit back and enjoy doing multiple tasks at the same time using two or more monitors on your desk.
If you know any other process to change primary monitor to secondary monitor, then mention it in the comment section below and help the users like you to have the best monitor setup.